Making a swing project using IntelliJ IDEA GUI builder with maven, Including executable jar
In this post I’ll quickly show how to get a maven project under Idea running with the GUI builder, and show you the config you need to build an executable jar for it as well.
IntelliJ IDEA has a great built in tool for making swing projects called GUI Builder, here’s a nice live demo.
The problem comes when using the gui builder with Maven, since the builder uses form files that are specific for IDEA. Thankfully there is a maven plugin to help with this issue: The Maven 2 IDEA UI Designer Plugin.
To have a concrete example to work with, we’ll create a simple Swing app for sending JMS Messages to a destination queue. The code will be located at http://github.com/kenglxn/JMSUtility
So lets get started by setting up the project:
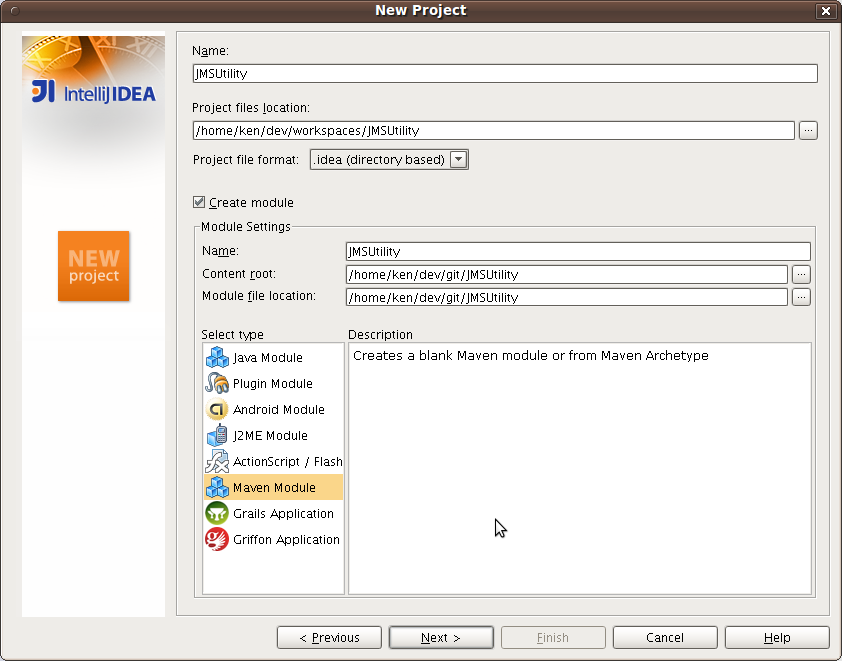
Start IDEA and create a new project. Choose to create from scratch.

In the module section choose maven module and give it a name
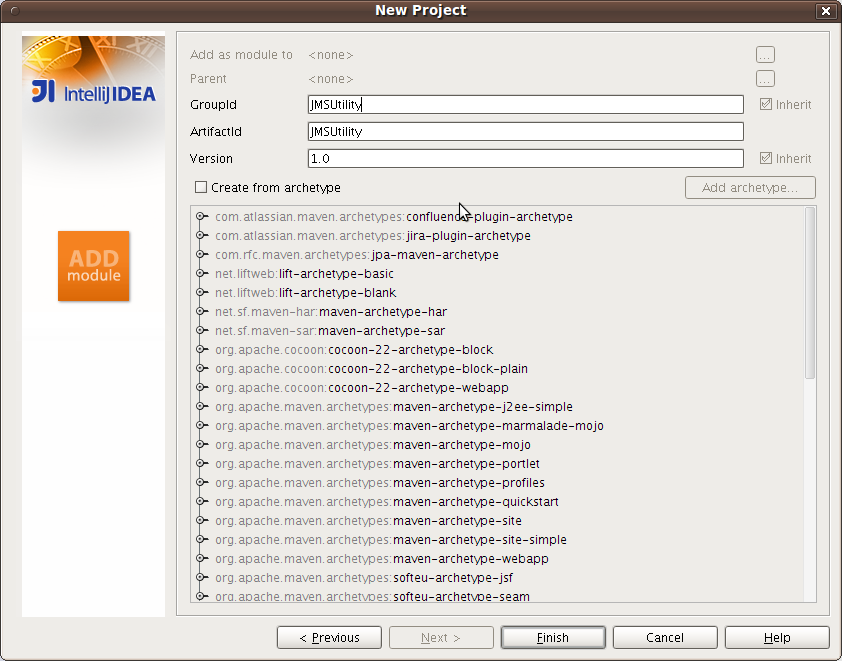
In the next screen you can set maven artifact properties and if you wish choose an archetype, we’ll be creating from scratch, so skip the archetype and click the finish button
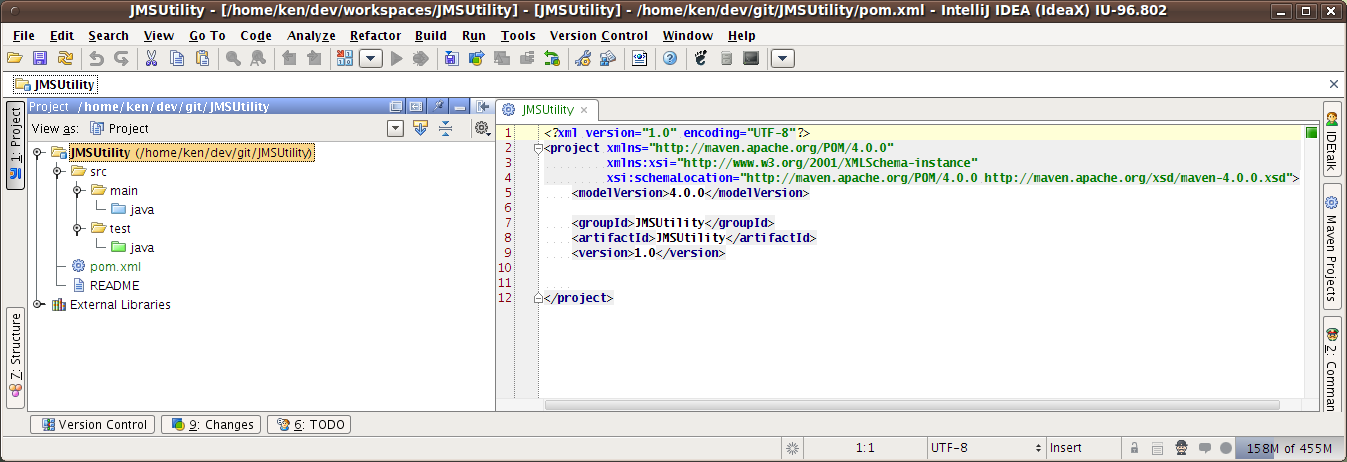
Great, now we have a fresh maven project that we can work with
So now it’s just a matter of adding the dependencies we need, and writing some code. We’ll add some dependencies for tests, string manipulation and JMS. Here’s a snippet of the dependencies added to the pom.xml so far:
<dependencies>
    <dependency>
        <groupId>commons-lang</groupId>
        <artifactId>commons-lang</artifactId>
        <version>2.5</version>
    </dependency>
    <dependency>
        <groupId>org.apache.activemq</groupId>
        <artifactId>activemq-core</artifactId>
        <version>5.3.0</version>
    </dependency>

    <dependency>
        <groupId>com.intellij</groupId>
        <artifactId>forms_rt</artifactId>
        <version>5.0</version>
    </dependency>
    <!-- TEST SCOPE -->
    <dependency>
        <groupId>junit</groupId>
        <artifactId>junit</artifactId>
        <version>4.7</version>
        <scope>test</scope>
    </dependency>
</dependencies>
Next step is writing some code and tests.
We’ll start off by making the UI using the built in GUI Builder in IDEA, using the GridLayout. You could of course use JGoodies Forms layout, or even something else you prefer.
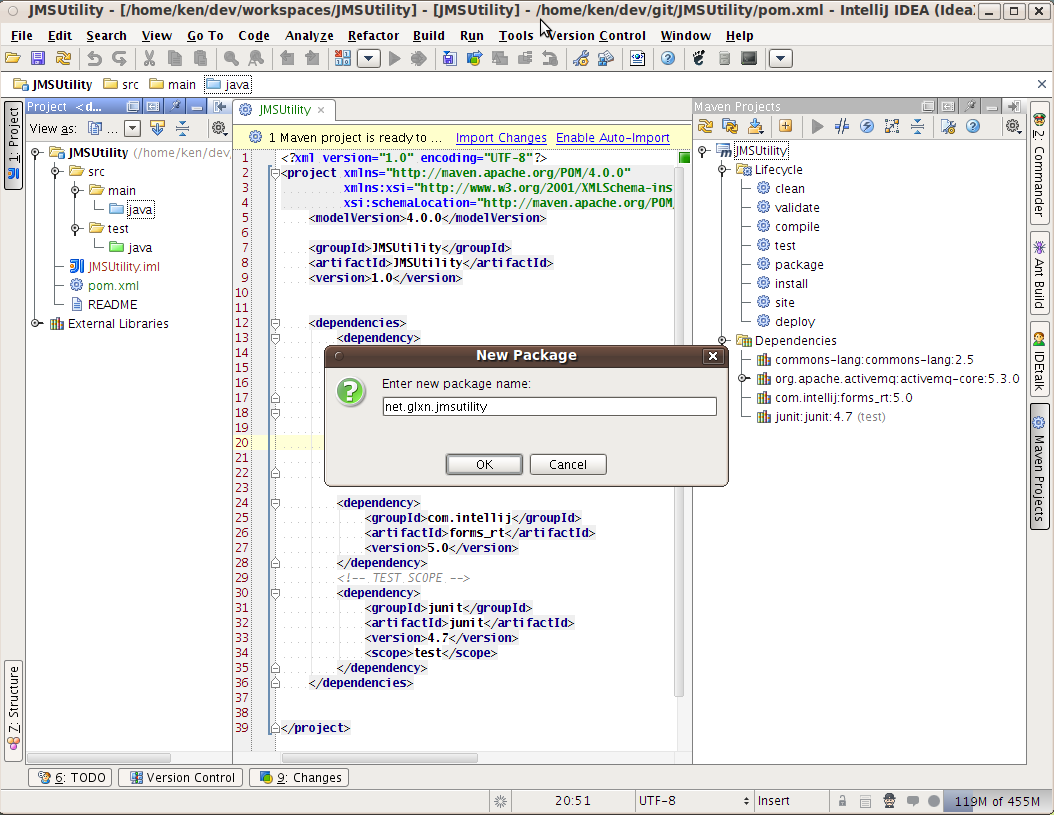
create a new package, again I like to use alt+insert hotkey while the target directory is active. I chose net.glxn.jmsutility as the name for my package
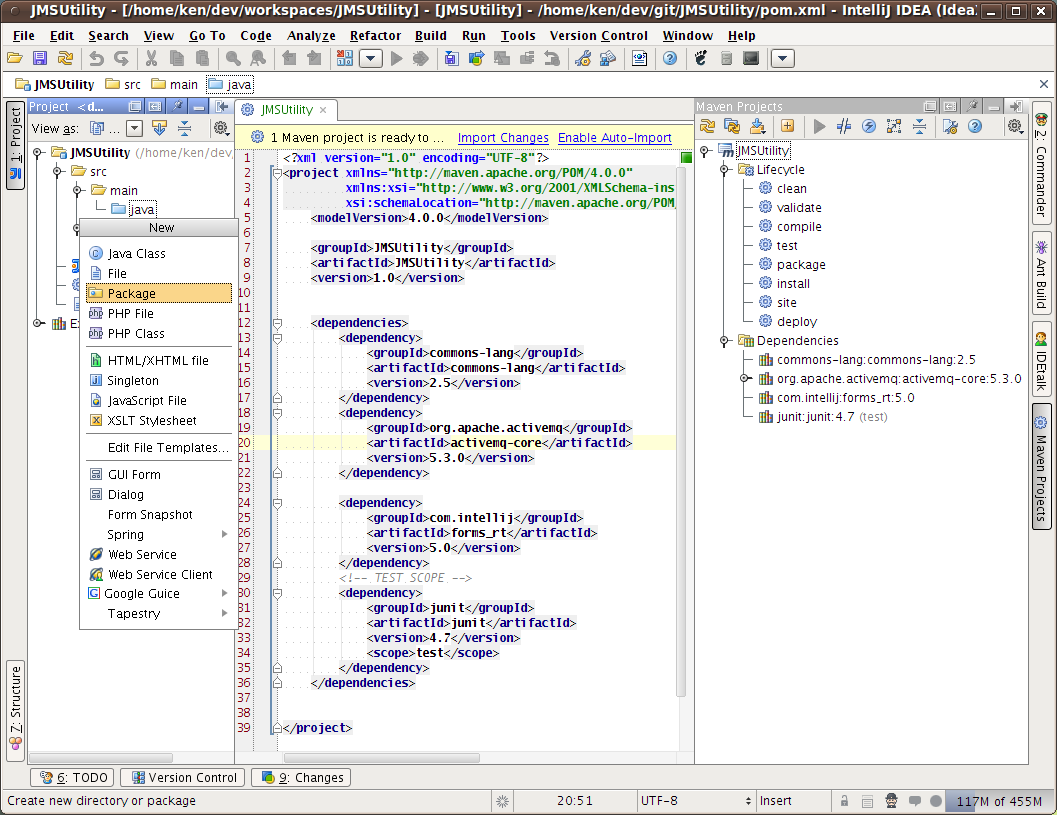
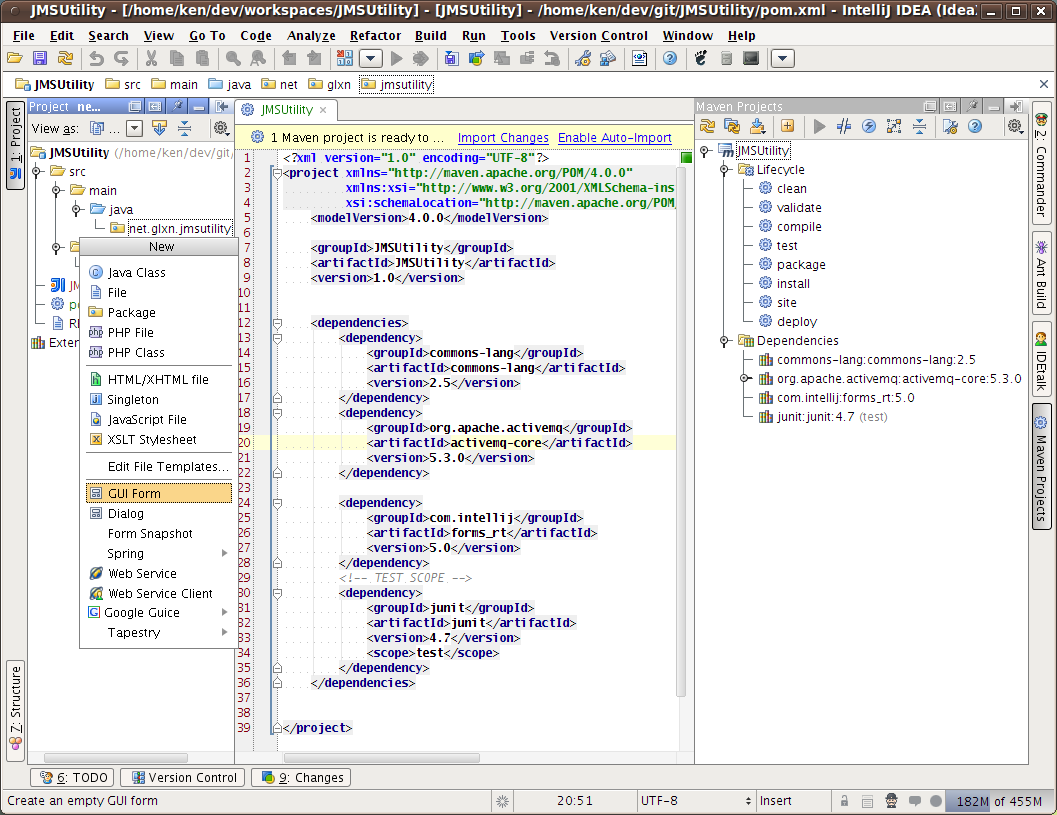
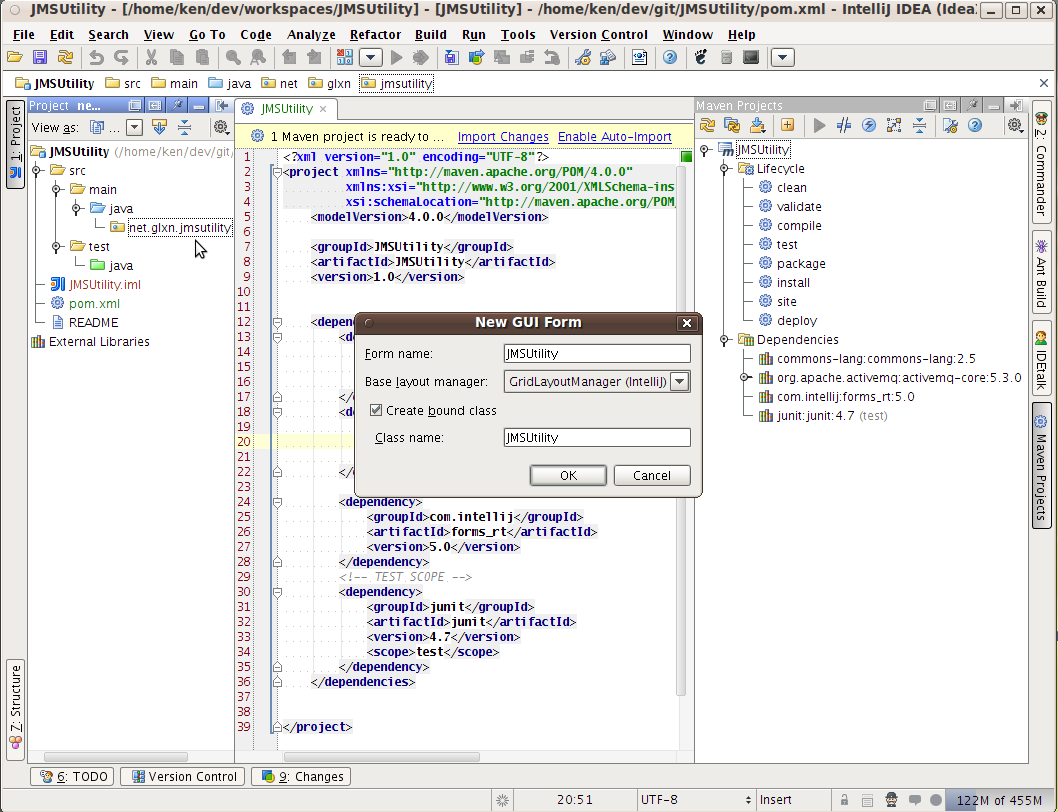
Next we create a new GUI Form in the newly added package and give the form a name. Here I chose GridLayoutManager by IntelliJ, this will need to be added to the pom.
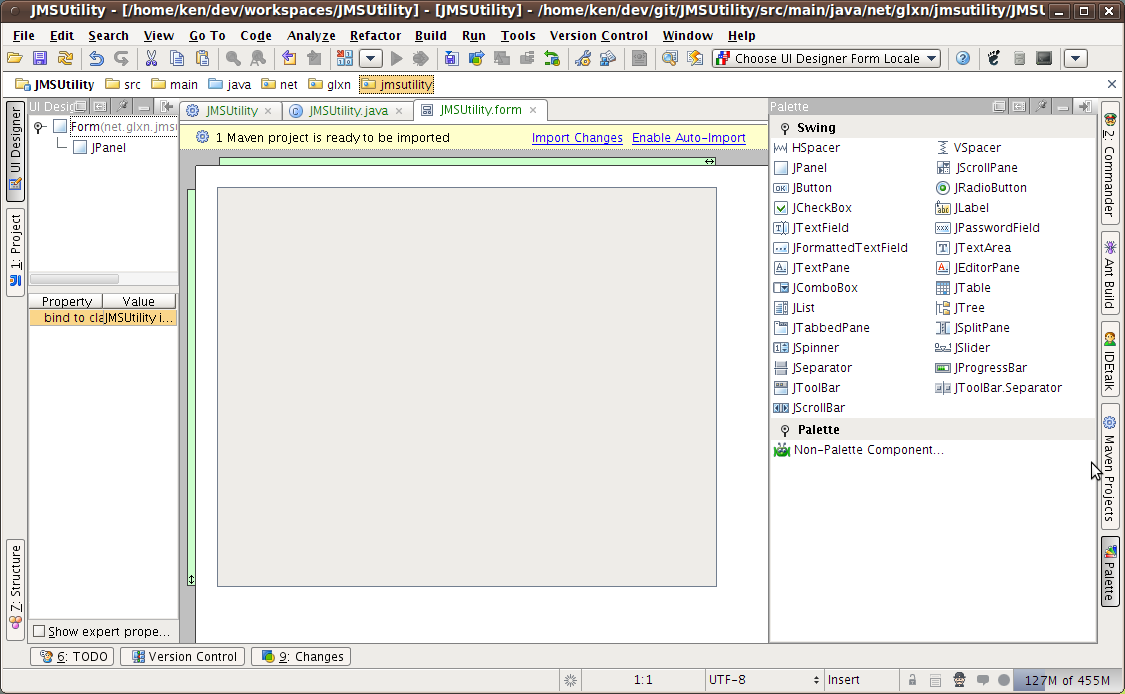
IDEA now kindly shows us the fresh GUI builder view, here we add our components from the palette. Take a look at the live demo of the GUI Builder to get started yourself.
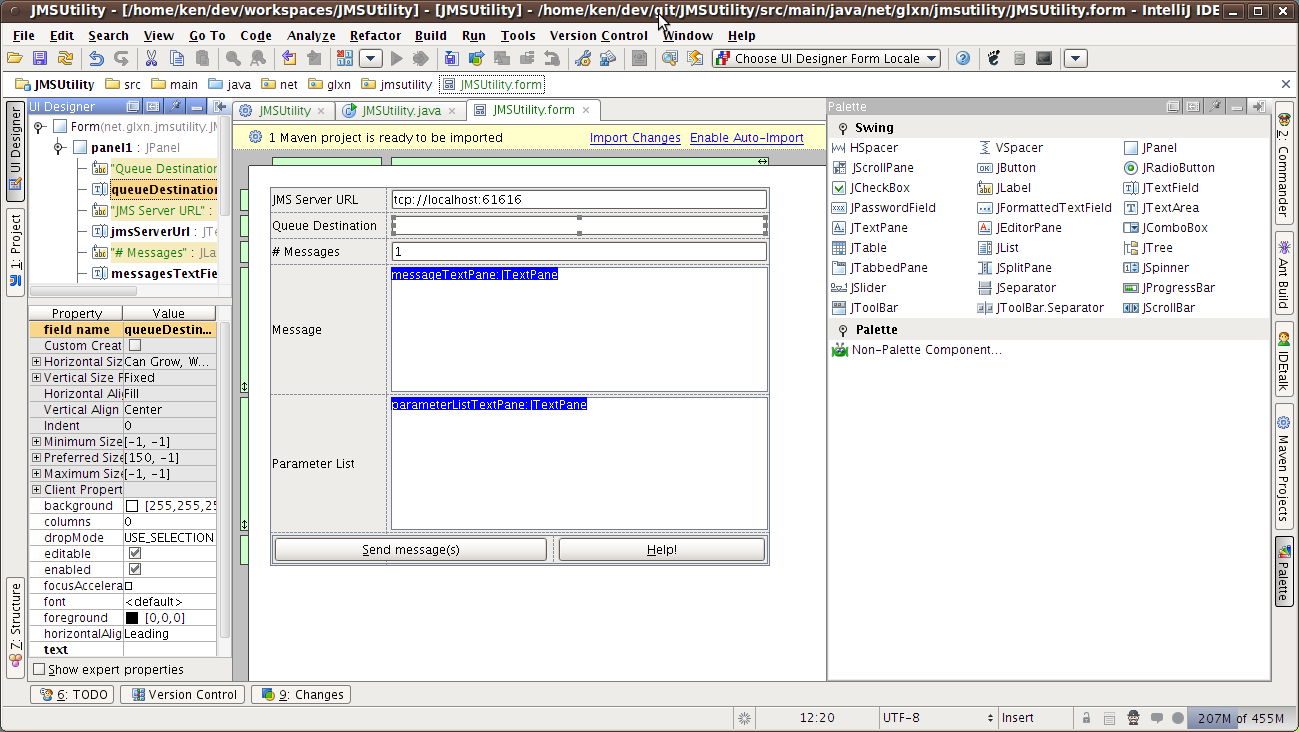
We now have enough code to run the application: 4164296182c8efc3f0c97be8f5be1a7a1f2cdeb3
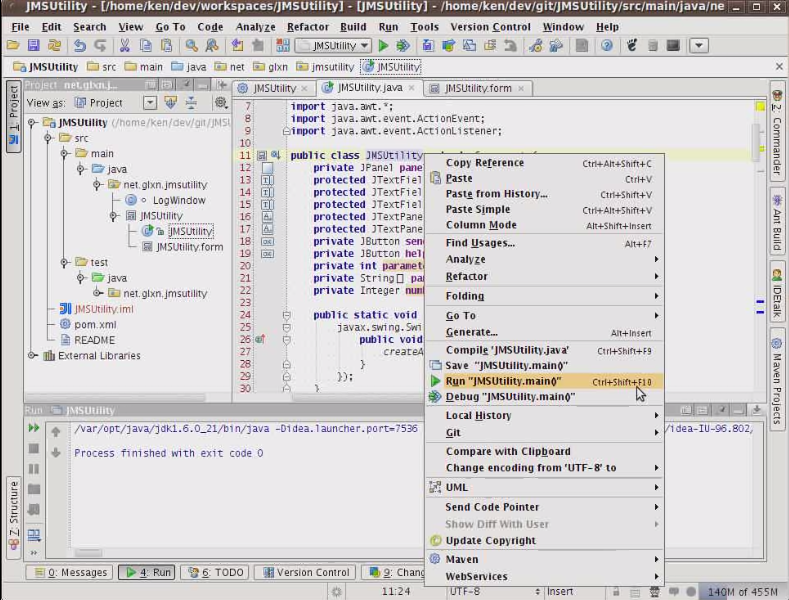
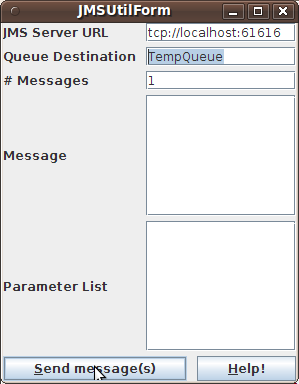
So now IDEA is able to run the GUI, and tests
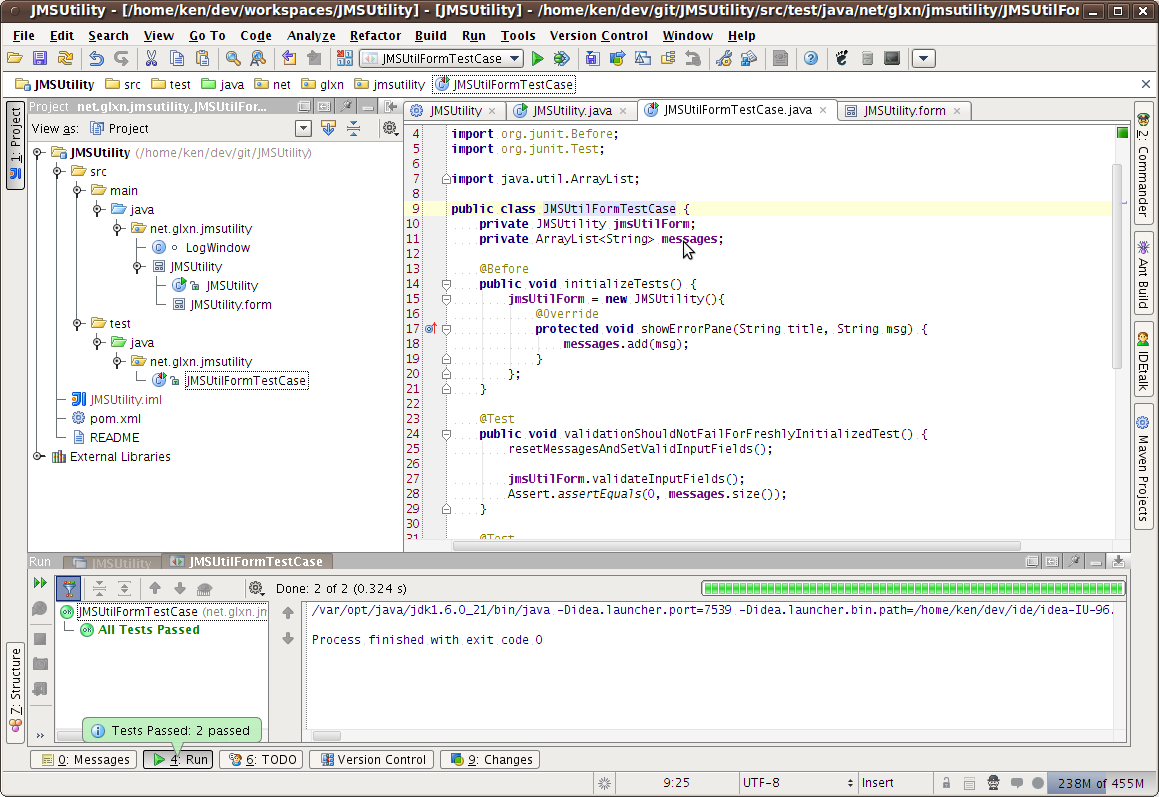
That’s it for the GUI building.
Our next step is to get this build running equally smooth in maven. Lets see what the output is with the current code (http://github.com/kenglxn/JMSUtility/tree/130462ca99bc7f05980fd129674d41ef975a5e92)
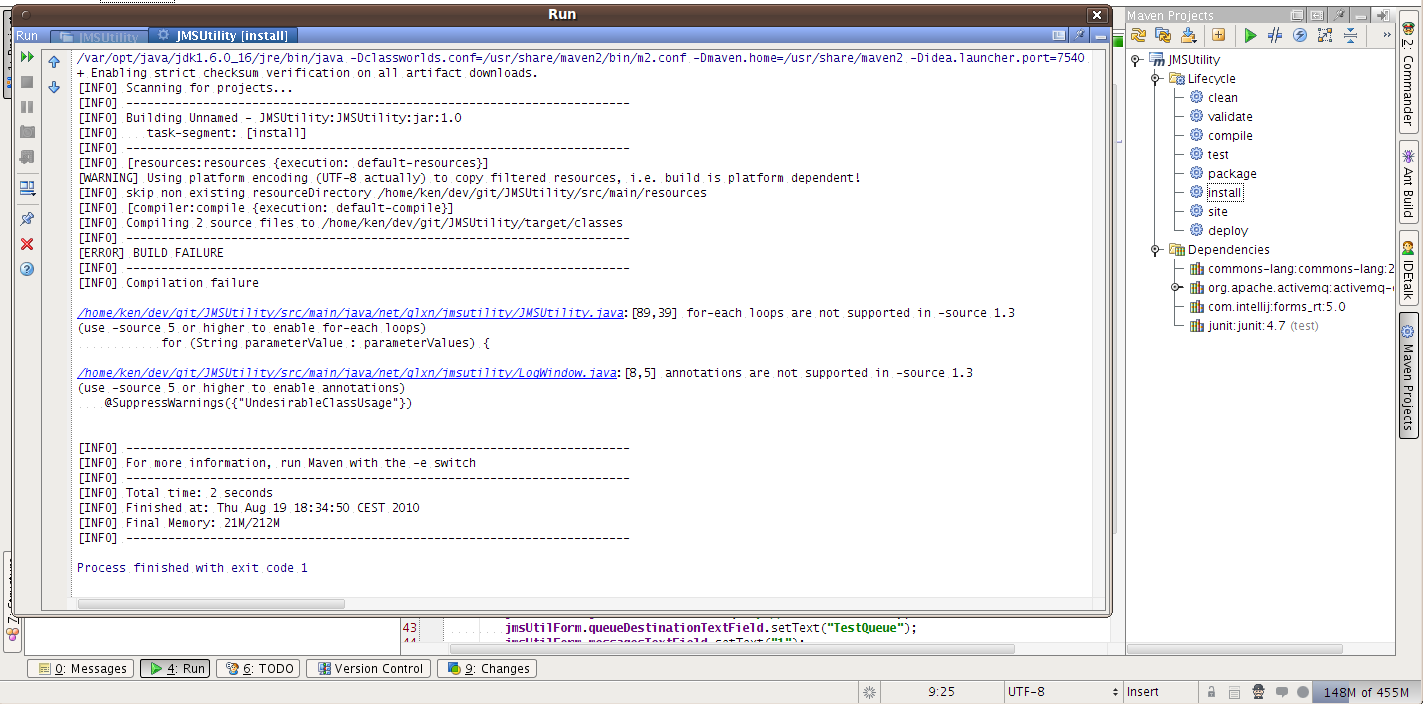 So we see that maven isn’t happy with us. Let’s fix it by adding the following to the pom:
<build>
    <finalName>JMSUtil</finalName>
    <plugins>

        <plugin>
            <groupId>org.apache.maven.plugins</groupId>
            <artifactId>maven-compiler-plugin</artifactId>
            <version>2.0.2</version>
            <configuration>
                <sourcee>1.6</sourcee>
                <target>1.6</target>
            </configuration>
        </plugin>

    </plugins>
</build>
Now we run the test again and get:
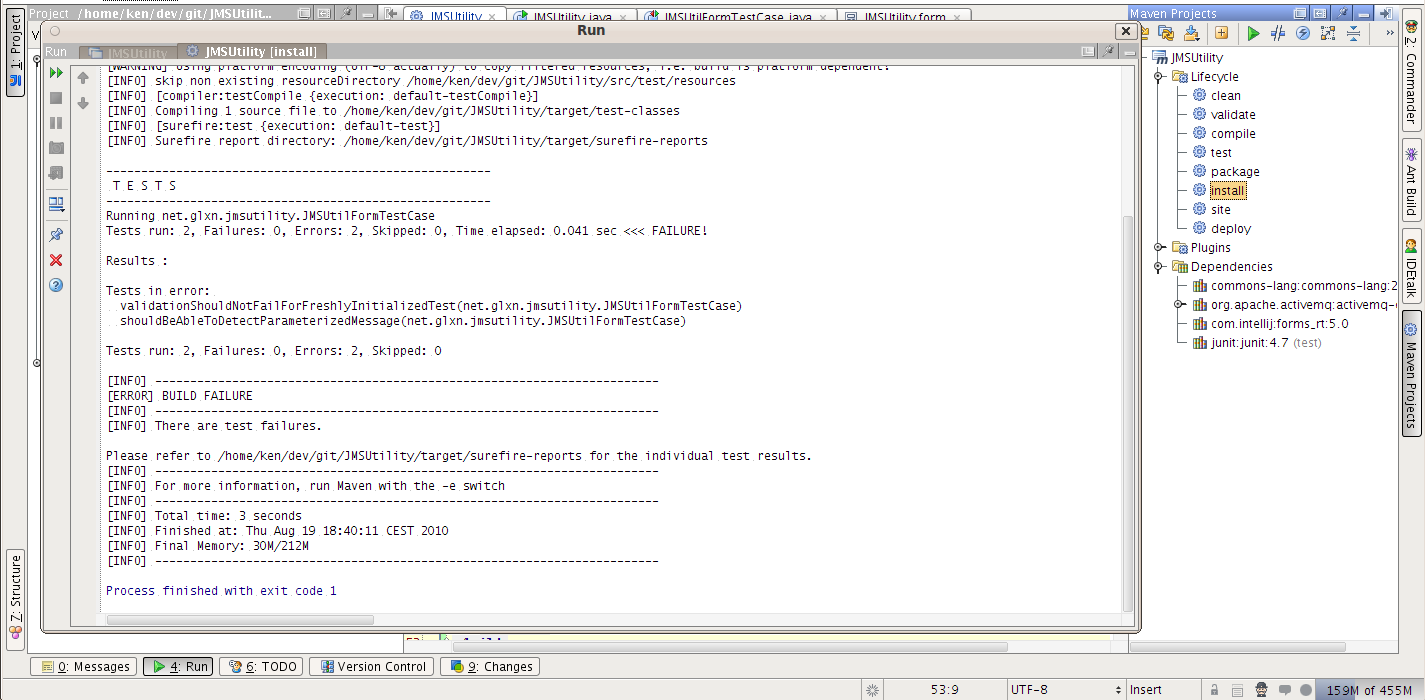
Here we see that the build is ok, but the tests fail. This is what I was talking about earlier in regards to the idea forms not being built with maven. Lets look at the surefire report and see what it says. I’m going to use the “analyze stacktrace” functionality in IDEA to get a pretty view of the content of the surefire report. To do this go to the Analyze menu and at the bottom select “Analyze stacktrace”, and in the dialog paste in your stacktrace and click ok:
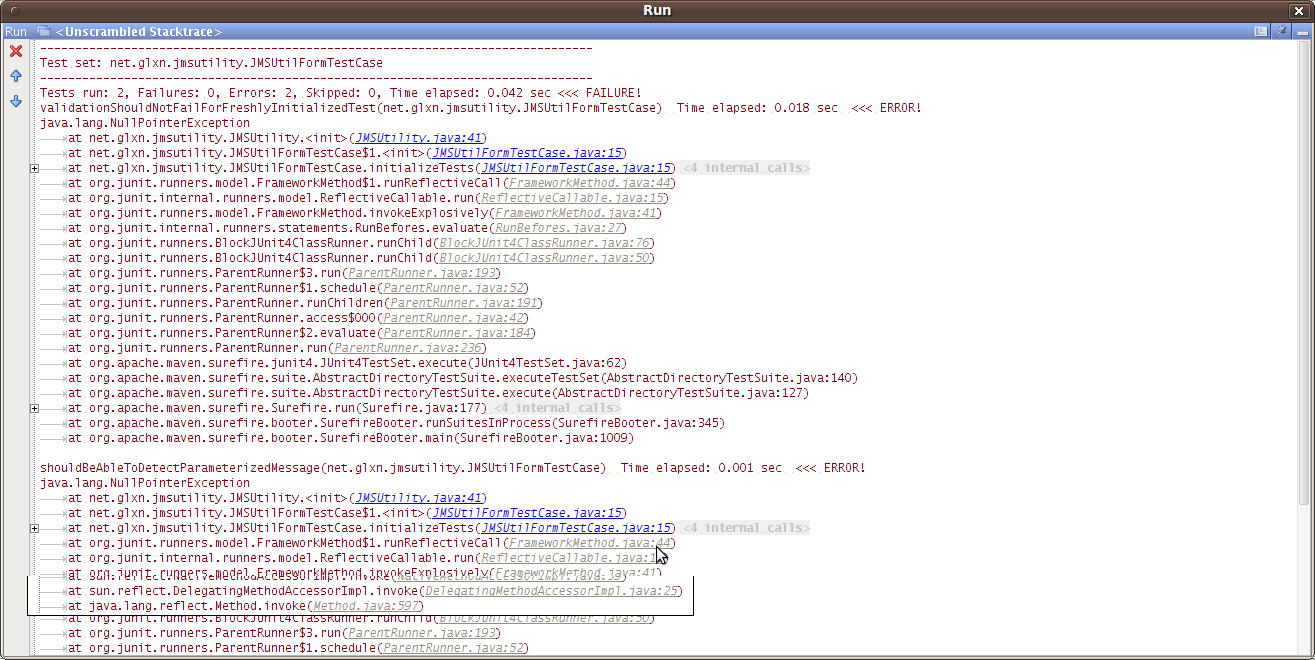
This tells us that the helpButton field is null when it tries to attach an ActionListener in the constructor
public JMSUtility() {
    helpButton.addActionListener(new ActionListener() { ... }
The way we solve this is to import the Maven 2 IDEA UI Designer Plugin into the pom:
<plugin>
    <groupId>org.codehaus.mojo</groupId>
    <artifactId>ideauidesigner-maven-plugin</artifactId>
    <executions>
        <execution>
            <goals>
                <goal>javac2</goal>
            </goals>
        </execution>
    </executions>

    <configuration>
        <fork>true</fork>
        <debug>true</debug>
        <failOnError>true</failOnError>
    </configuration>
</plugin>
Let’s see what the maven build does now by running clean install
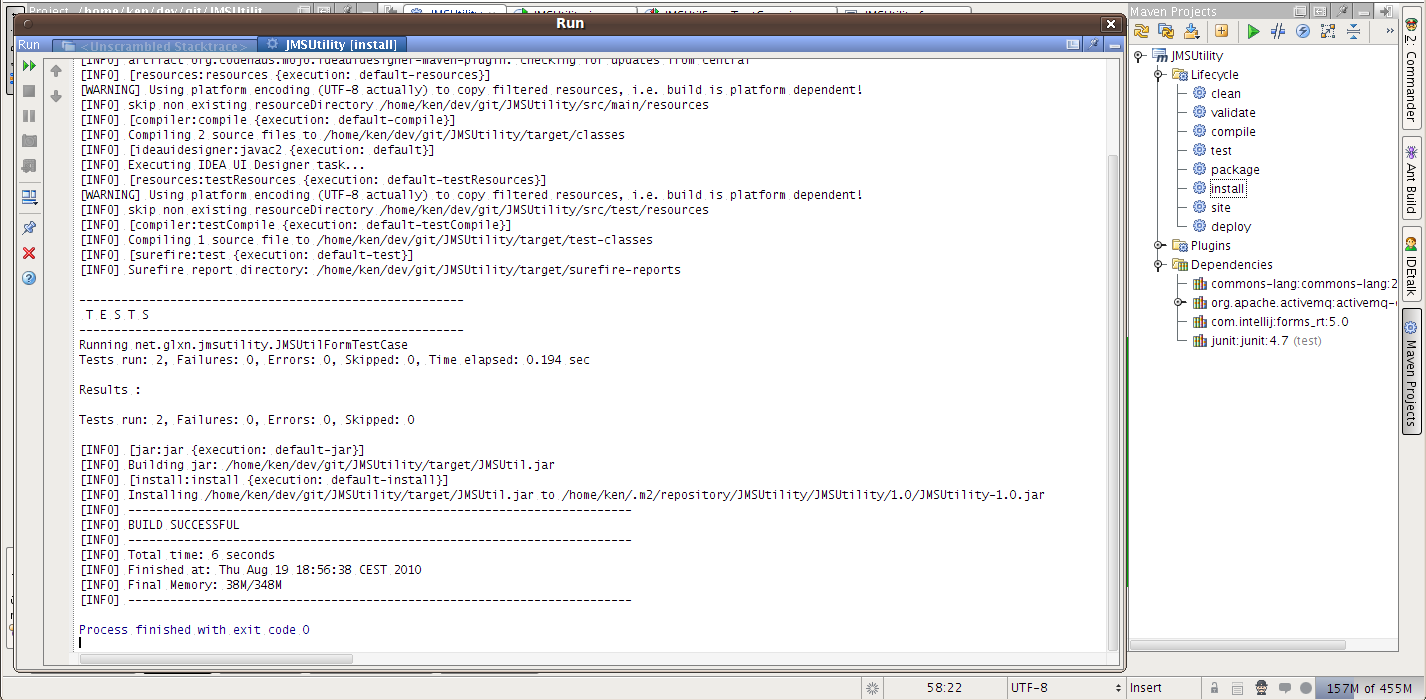
How about that? The sweet taste of build success :)
This means now that the plugin is working. The next and final step is to create an executable jar via maven for this project. For this we will use the maven-jar-plugin to get a jar with the correct manifest and the maven-archive-plugin to get a lib directory with the dependencies in it which the manifest will refer to. So, just add the following to the pom:
<plugin>
    <groupId>org.apache.maven.plugins</groupId>
    <artifactId>maven-dependency-plugin</artifactId>
    <executions>
        <execution>
            <id>copy-dependencies</id>
            <phase>package</phase>
            <goals>
                <goal>copy-dependencies</goal>
            </goals>
            <configuration>
                <outputDirectory>${project.build.directory}/lib</outputDirectory>
                <overWriteReleases>false</overWriteReleases>
                <overWriteSnapshots>false</overWriteSnapshots>
                <overWriteIfNewer>true</overWriteIfNewer>
            </configuration>
        </execution>
    </executions>
</plugin>


<plugin>
    <groupId>org.apache.maven.plugins</groupId>
    <artifactId>maven-jar-plugin</artifactId>
    <configuration>
        <archive>
            <manifest>
                <addClasspath>true</addClasspath>
                <classpathPrefix>lib/</classpathPrefix>
                <mainClass>net.glxn.jmsutility.JMSUtility</mainClass>
            </manifest>
        </archive>
    </configuration>
</plugin>
At this point you should have a pom that looks like this: http://github.com/kenglxn/JMSUtility/blob/b217473ab420550ac81f149c2de22497e3bef303/pom.xml
Now let’s run the executable jar by going to the target folder and running ‘java -jar JMSUtil.jar’
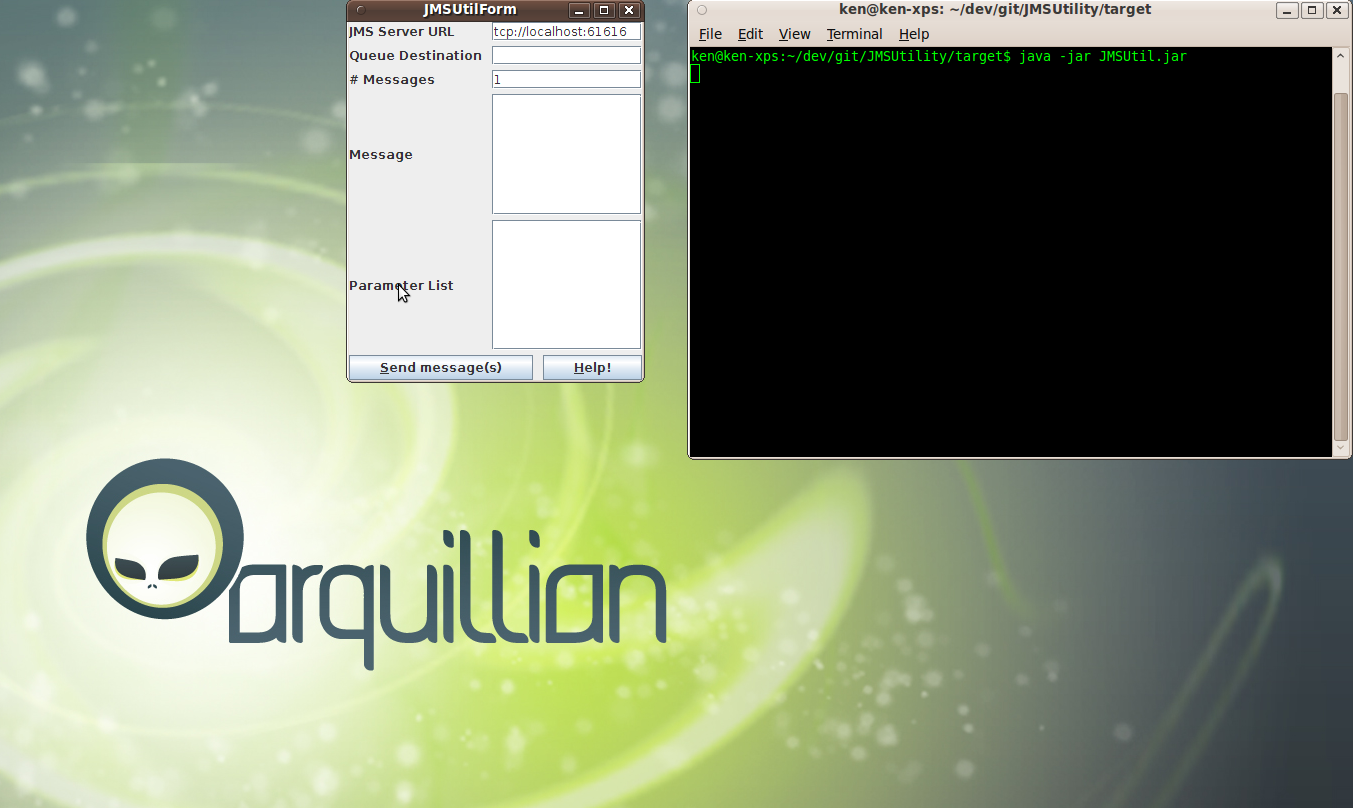
And that’s it. You now have a maven build with tests and automatic building of the executable jar.
Feel free to clone the code and do whatever you like with it, just dont blame me :P
The distribution zip with jar and lib can be downloaded directly here
RESOURCES:
- Maven Archiver
- Maven 2 IDEA UI Designer Plugin
- Maven Dependency Plugin
- Forms RT jar on Maven Central repo
- GUI Builder for IntelliJ IDEA